
blog article
Categories
Recent Posts
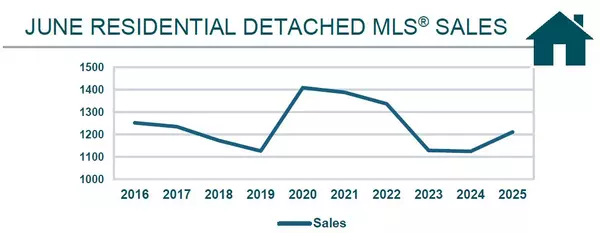
Winnipeg Real Estate Market Statistics June 2025
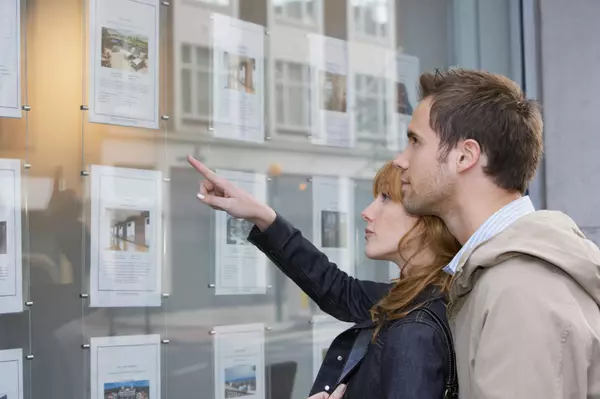
Buying a Home in Winnipeg? Schedule Showings through Your REALTOR®
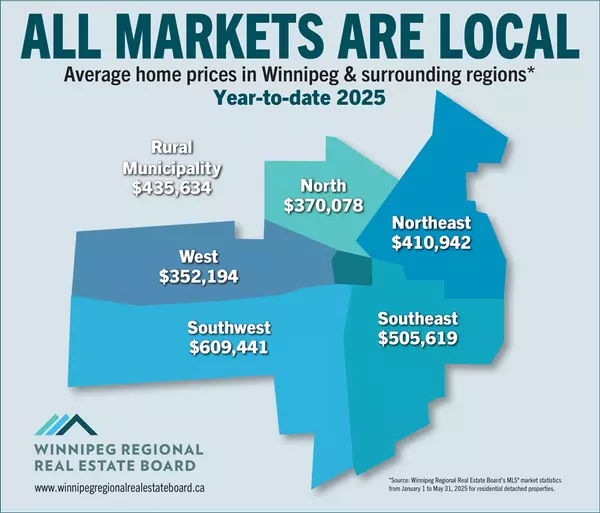
May 2025 Winnipeg Regional Market Statistics
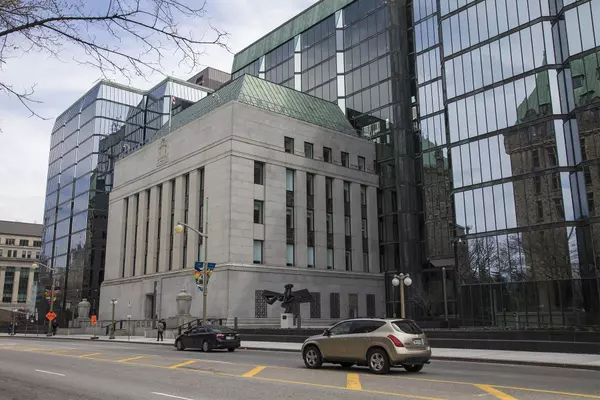
The Bank of Canada, Interest Rates, and How They Affect Borrowers
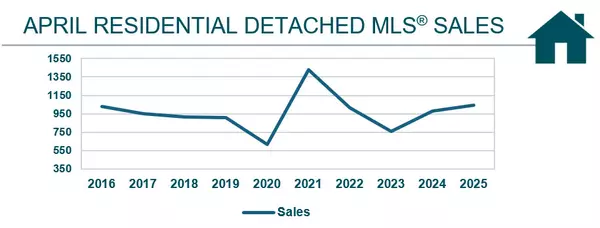
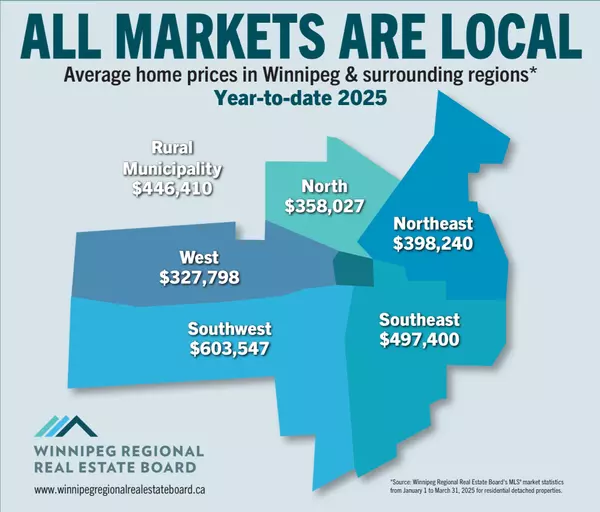
April 2025 Winnipeg Regional Market Statistics
Property Disclosure Statement or PDS in Manitoba Real Estate

Sustainable Green Homes and the Benefits of a LEED® Certified Home in Canada
Why an Open House is Important to Selling Your Home

How Long Does it Take to Sell a Home in Winnipeg?
March 2025 Winnipeg Regional Market Statistics
Leave a Reply
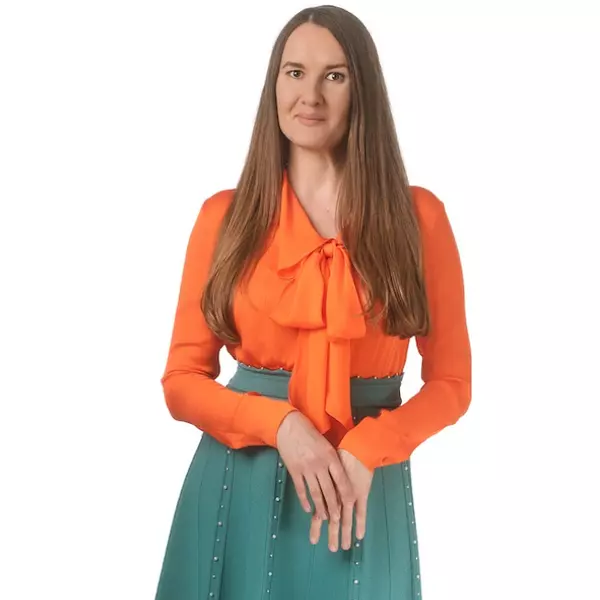 REALTOR®Thanks for stopping by and taking the time to get to know me!I'm Tara Zacharias, a real estate salesperson and licensed REALTOR® located in the vibrant city of Winnipeg. Real estate and all that's associated with it such as, interior design, construction, community planning, marketing or the financial aspect, all fascinate me. I take pride in working with my clients to find their ideal home, sell their property for the best value and make smart investment decisions.Born in Manitoba, I'm familiar with the prairie life in both the City of Winnipeg or in a rural town, i've lived both. My interests are hiking, riding bicycle, theatre, making art, concerts and trying new restaurants. I have a Bachelor of Fine Arts in drawing and painting and a Post-Graduate Certificate in sculpture and installation from OCAD University.Whether you're a first-time homebuyer, a seasoned seller or an investor looking for opportunities, I'm here to guide you every step of the way with integrity, expertise, and a genuine desire to see you succeed in your real estate journey. My mission is to make sure your wants and needs are met so that we can work together again to make your real estate dreams a reality.+1(204) 293-0933 tara@tarazacharias.com
330 St Mary Ave, Winnipeg, MB, R3C 3Z5, CAN
https://tarazacharias.com/